
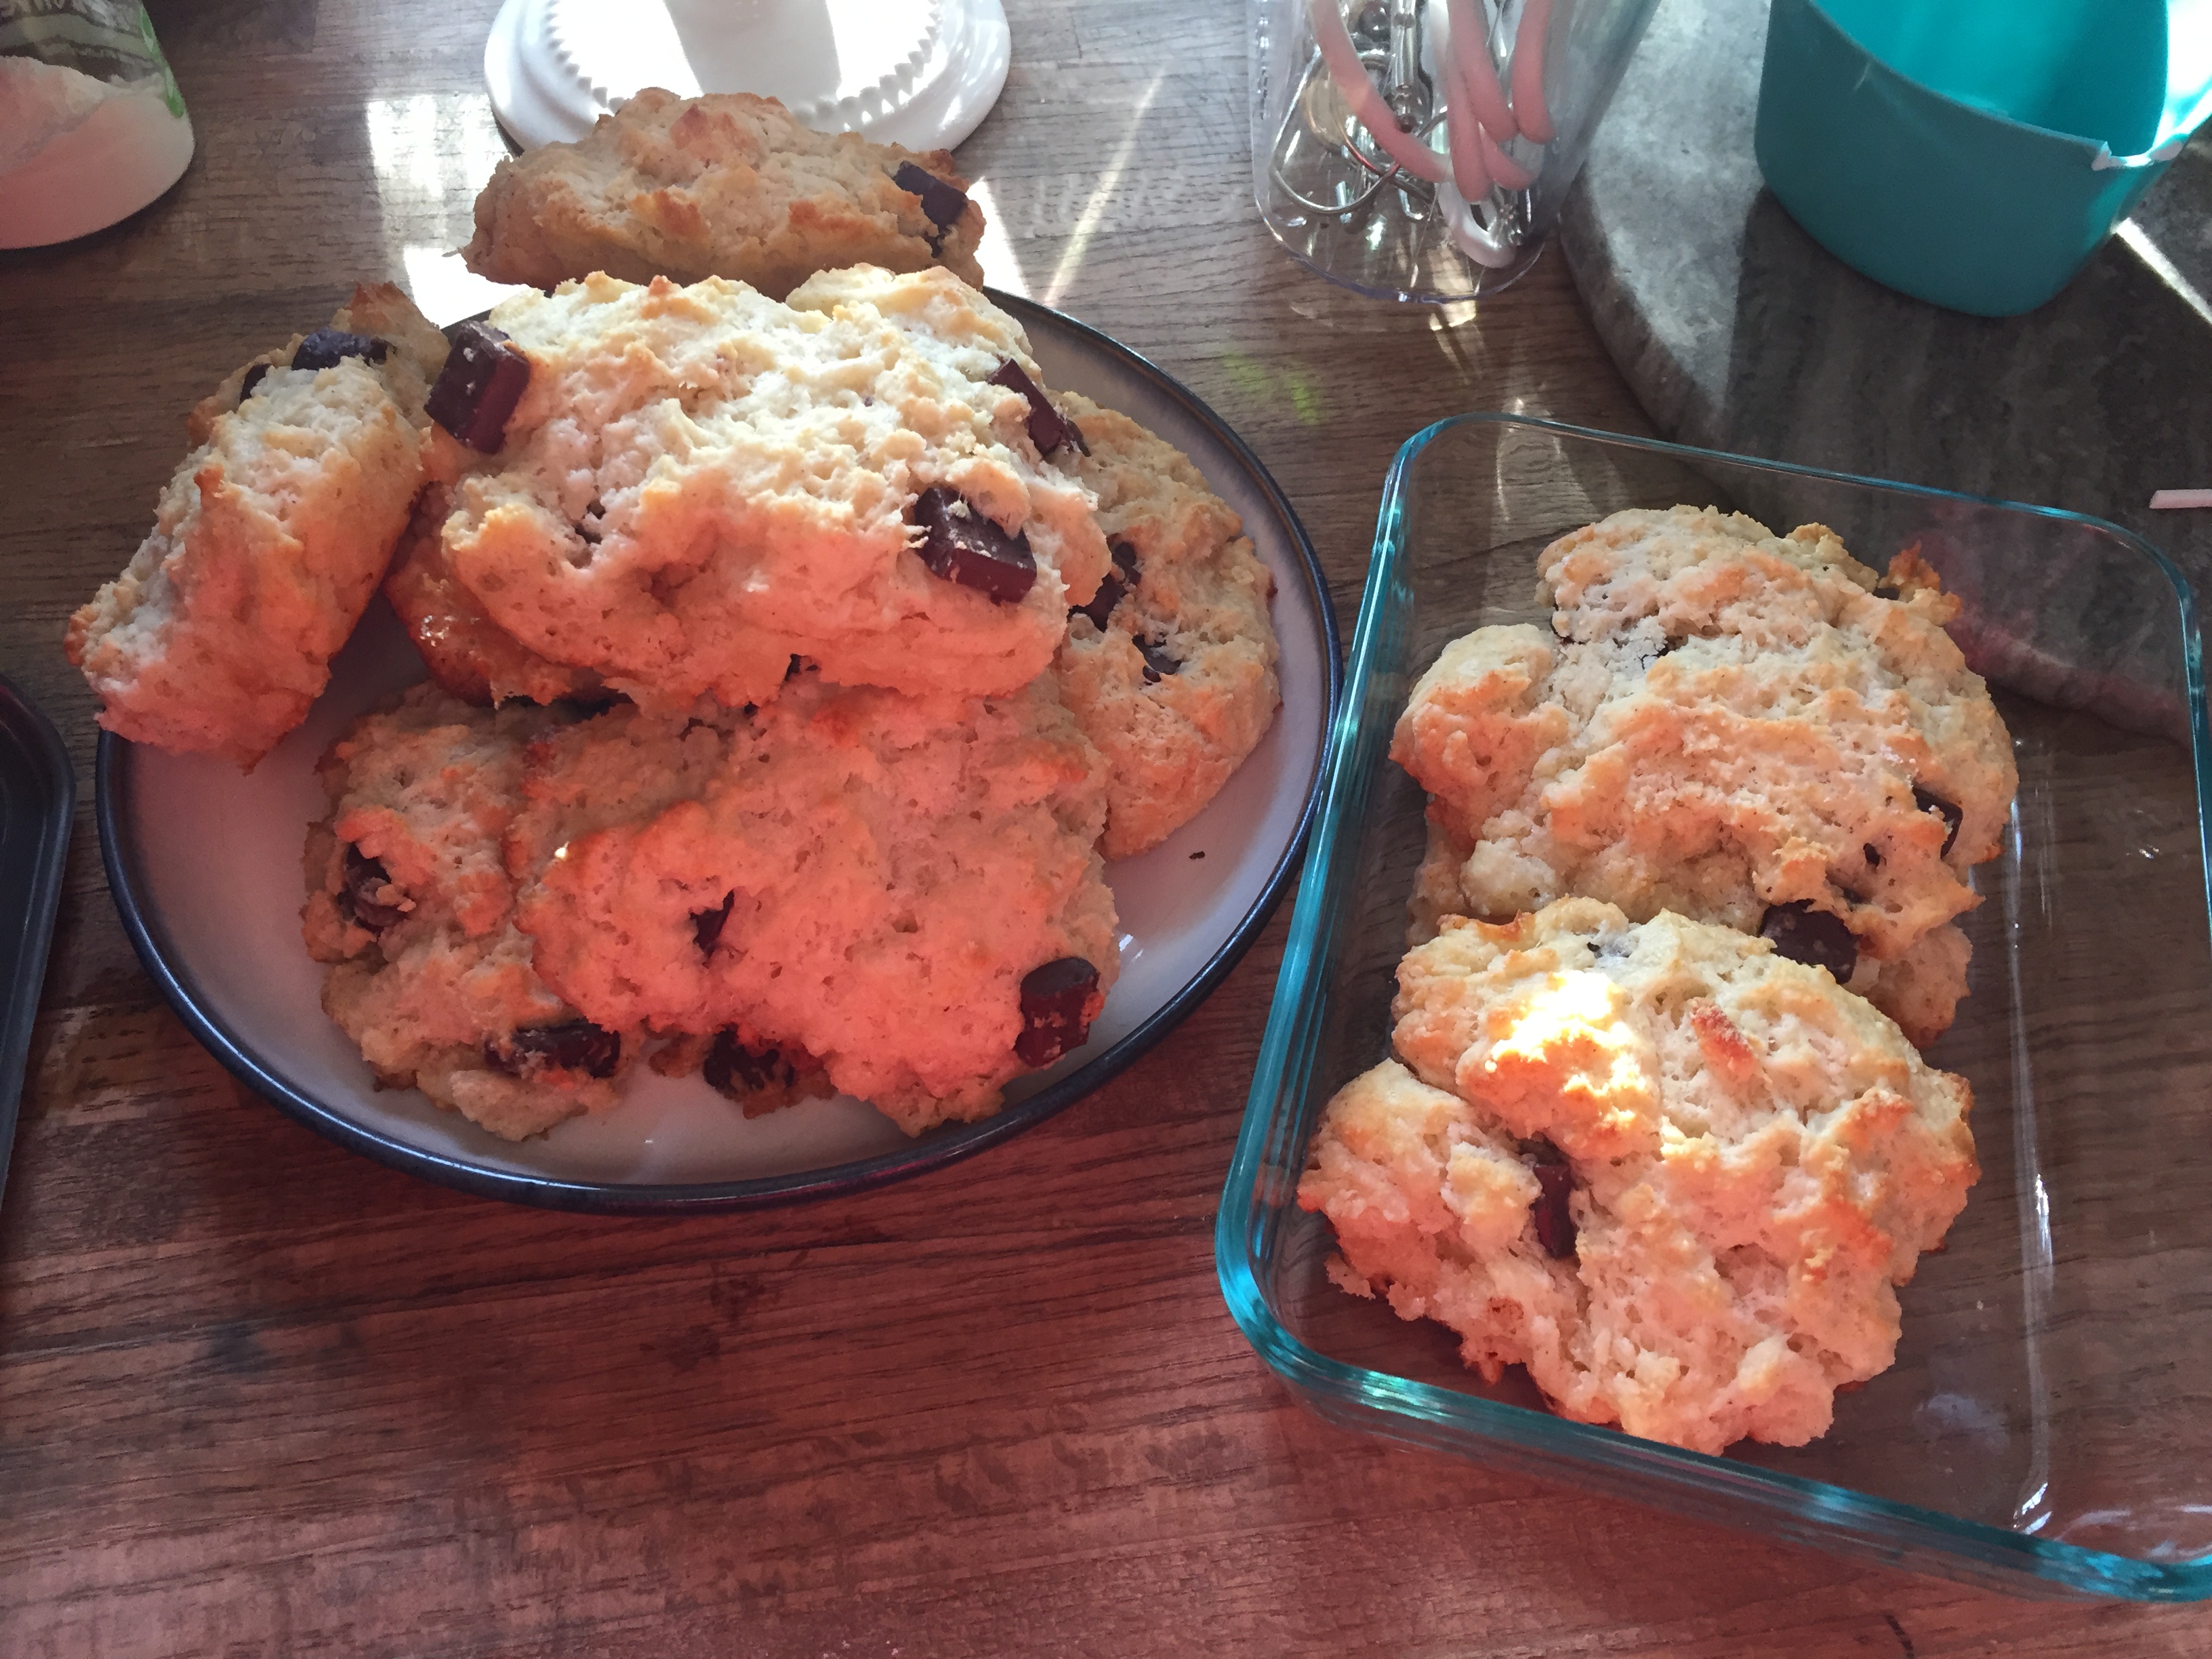
Buttermilk “Biscones” with Chocolate Chunks
by cleothedog
This recipe is adapted from The Back in the Day Bakery Cookbook. They are called biscones (bis-cones) because they are part biscuit, part scone! Perfect combination. Perfect amount of sweetness – sweeter than a regular biscuit, but not overly sweet (still biscuit-y). I made this recipe more than once recently, and what follows includes the improvements I made on my technique for my final batch. And, I used DIY methods to substitute buttermilk and cake flour, so you can probably make this with what you have at home. (Recipe uses dairy butter and milk.)
Ingredients:
1 1/2 cups all-purpose flour
1 1/2 cups cake flour —> I used 1 1/2 cups all-purpose flour and 3 Tablespoons of cornstarch for a DIY substitute (see below)
1/4 cup sugar
2 Tablespoons baking powder
Salt (3/4 teaspoon)
1/4 teaspoon ground cinnamon (original recipe calls for cardamom)
1/2 lb (2 sticks) cold unsalted butter, cut into cubes
1 1/2 cups buttermilk —> I used 1 1/2 cups whole milk and 1 1/2 Tablespoons fresh lemon juice for a DIY substitute (see below)
Semi-sweet chocolate chunks – or whatever chocolate you’d like (or you can make these plain, or try other add-ins!)
First, prepare your buttermilk. Measure 1 1/2 cups of fresh whole milk. Add to it 1 1/2 Tablespoons of freshly squeezed lemon juice (I strained the pulp with a little sieve). Mix with a wooden spoon, and let sit while you continue with the rest of the recipe. It’s important to do this step first. The milk/acid needs to sit for several minutes at least to get more of the consistency of buttermilk, and it gives it more of the tanginess of real buttermilk.
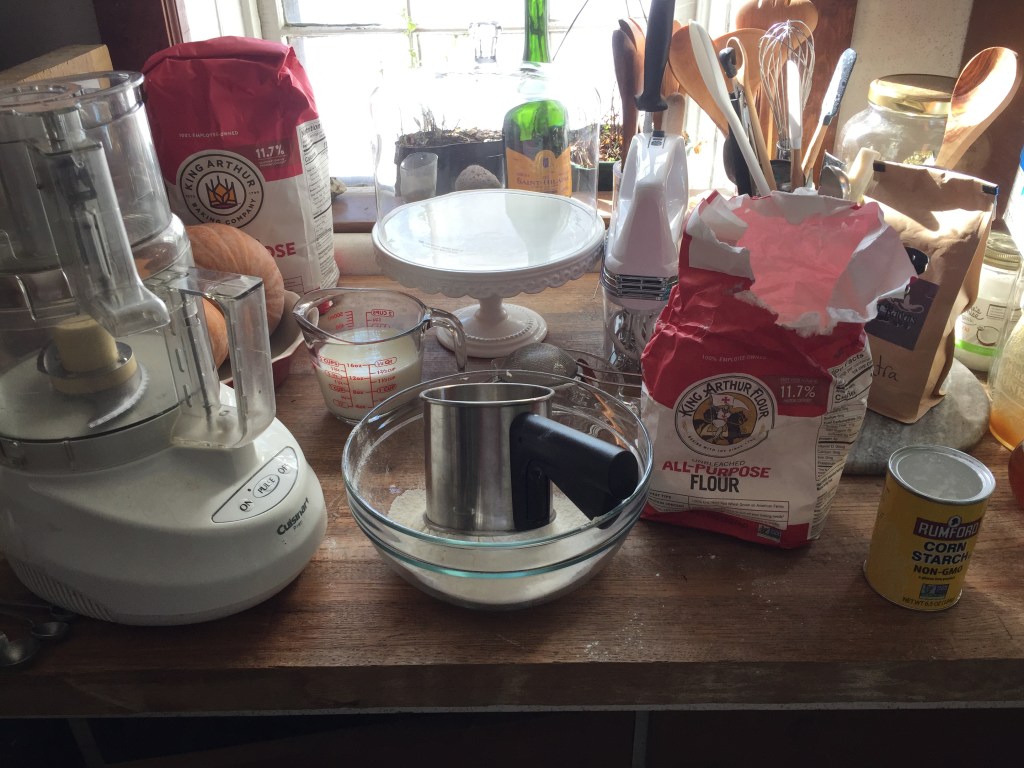
Then, prepare your cake flour. Measure 1 cup of all-purpose flour. Spoon out 2 Tablespoons of the flour (put back into your flour container). Add 2 Tablespoons of cornstarch. Sift flour-cornstarch combo into a medium bowl. Measure 1/2 cup of all-purpose flour, spoon out 1 Tablespoon and return to flour container, then add 1 Tablespoon of cornstarch. Sift flour-cornstarch combo into same medium bowl. Sift everything *again* into a large mixing bowl. It’s important to sift twice as this helps bring about the airiness of actual cake flour. Measure 1 1/2 cups of the homemade cake flour after you’ve sifted everything twice. You will probably have about 1 1/2 cups, but you may have a little extra (I did) since you have added air. (Save the rest of your homemade cake flour for another recipe!)
Preheat your oven to 375 F. Line baking sheet(s) with parchment paper. (How much of this recipe you’re making – if you’re halving, doubling the recipe, etc. – and whether you want bigger or smaller biscones will determine the number of baking sheets you’ll need. I used what I had – 1 cookie sheet and 2 round cake pans – and this recipe made 13 medium-large biscones for me.)
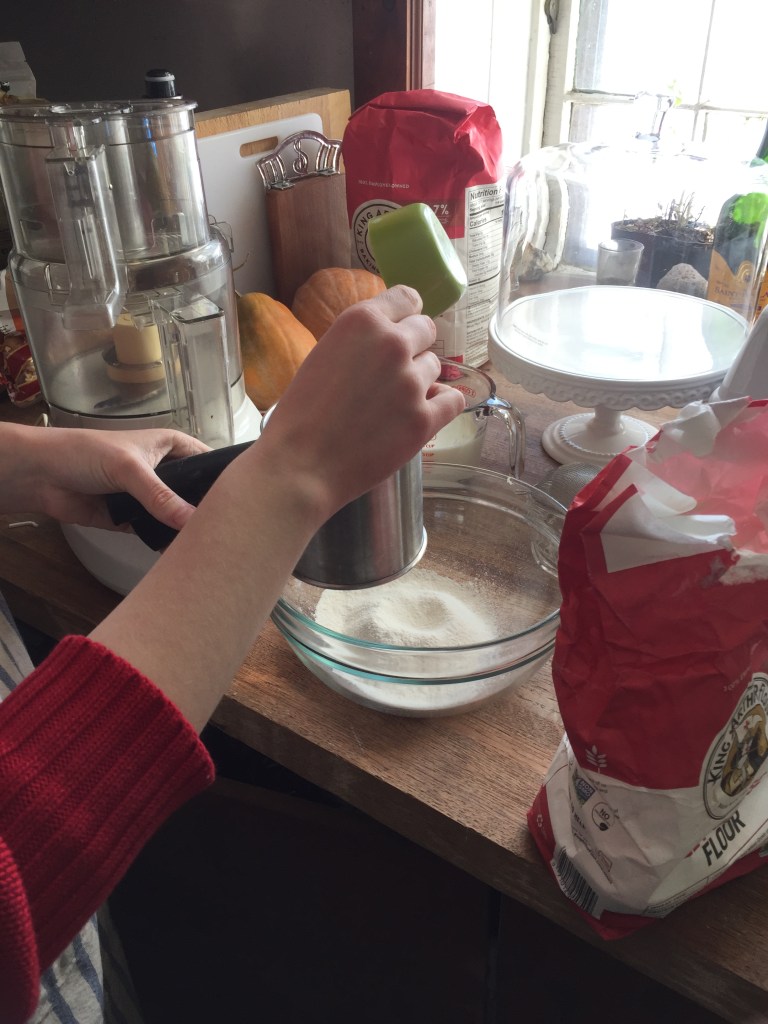
Add 1 1/2 cups of all-purpose flour to your mixing bowl (already containing 1 1/2 cups of homemade cake flour) along with sugar, baking powder, salt, and cinnamon. Whisk to incorporate.
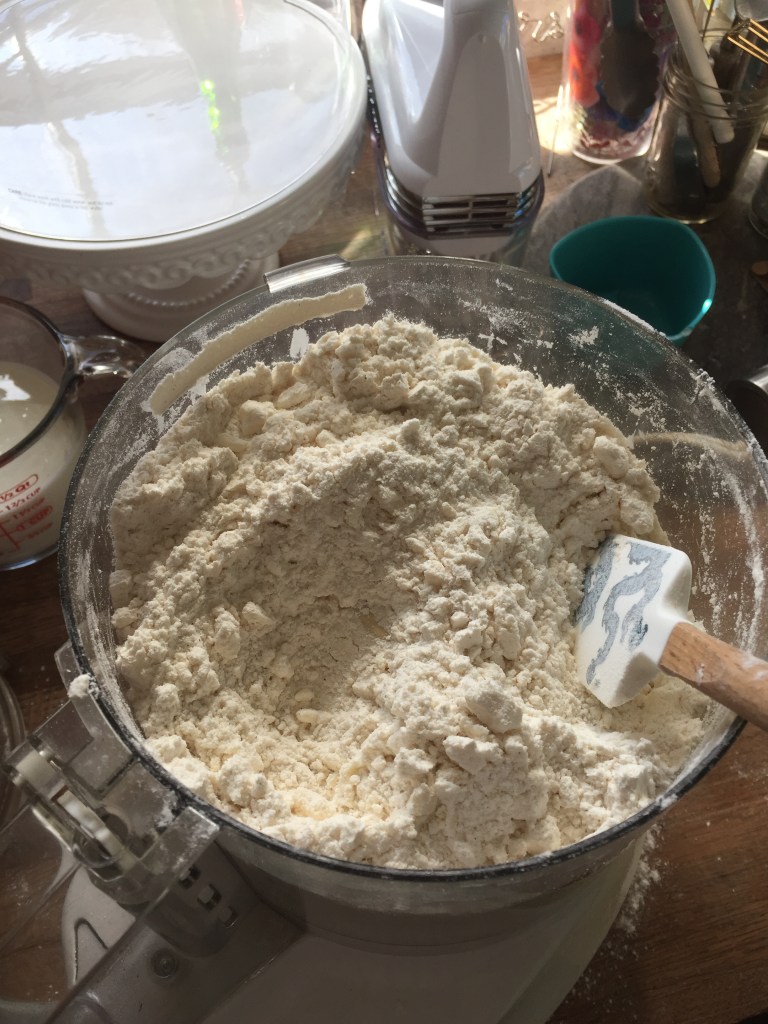
Cut butter into flour mixture – you can use knives, a pastry cutter, or your hands, but (the second time) I used a food processor to blitz it all together and it worked well. To do this: carefully add dry ingredients to food processor. Add cubes of butter to food processor, distributing throughout the flour mixture so the cubes are not stuck together and so they each get coated in flour. Then blitz – you want somewhat even, somewhat varied texture when you’re done, with some sandy patches OK and some larger pieces of butter – which are good! (Flakiness!) It doesn’t take long to combine in food processor – a handful of medium-long pulses is usually enough, checking on it occasionally for the right consistency.
Since I used a food processor, I then moved the flour mixture combined with butter back to the large mixing bowl and added chocolate chunks, stirring them in gently. Overall, throughout this recipe, it’s important to *handle mixture gently.*
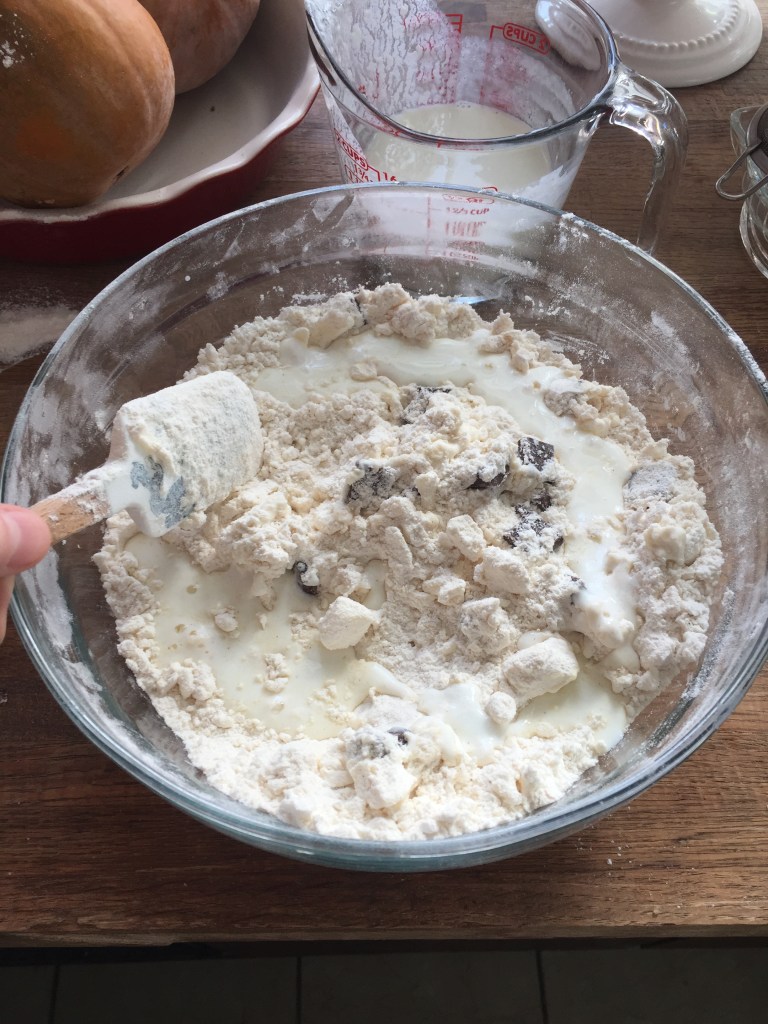
Gradually pour in buttermilk, gently mixing after each addition, and – after the last addition – gently mix/fold until the dough is soft and there are no dry bits of flour at the bottom of the bowl. Lumps of butter in the dough here are good! Do not over-mix – that will make your biscones tough. The dough will be slightly sticky.


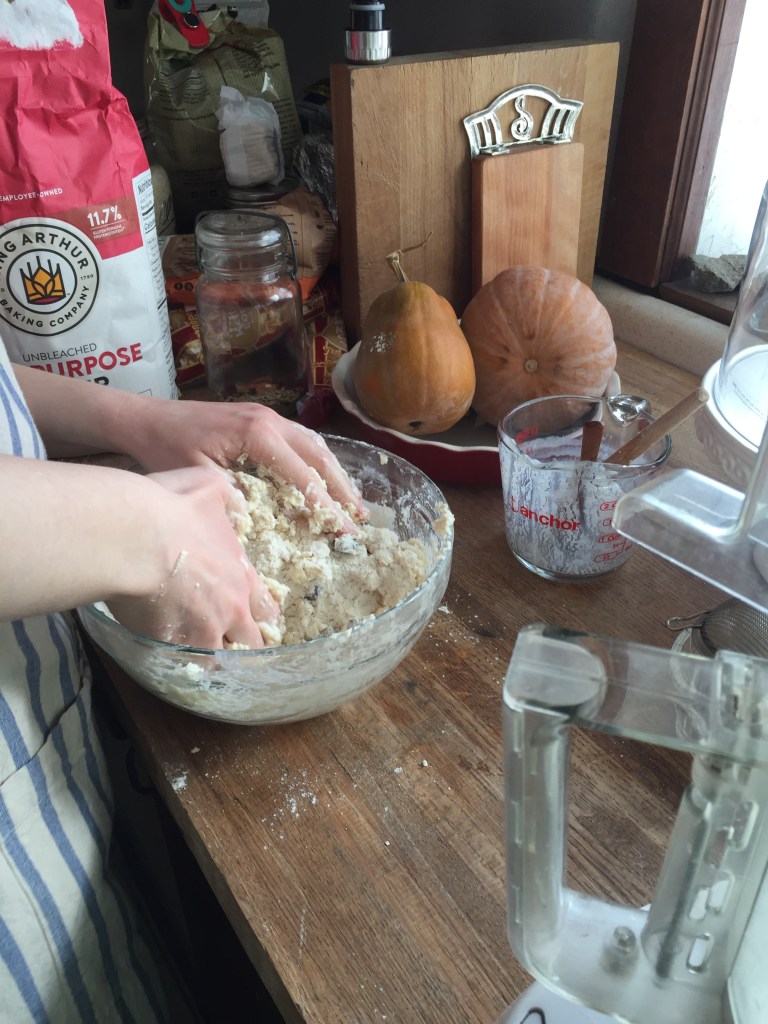
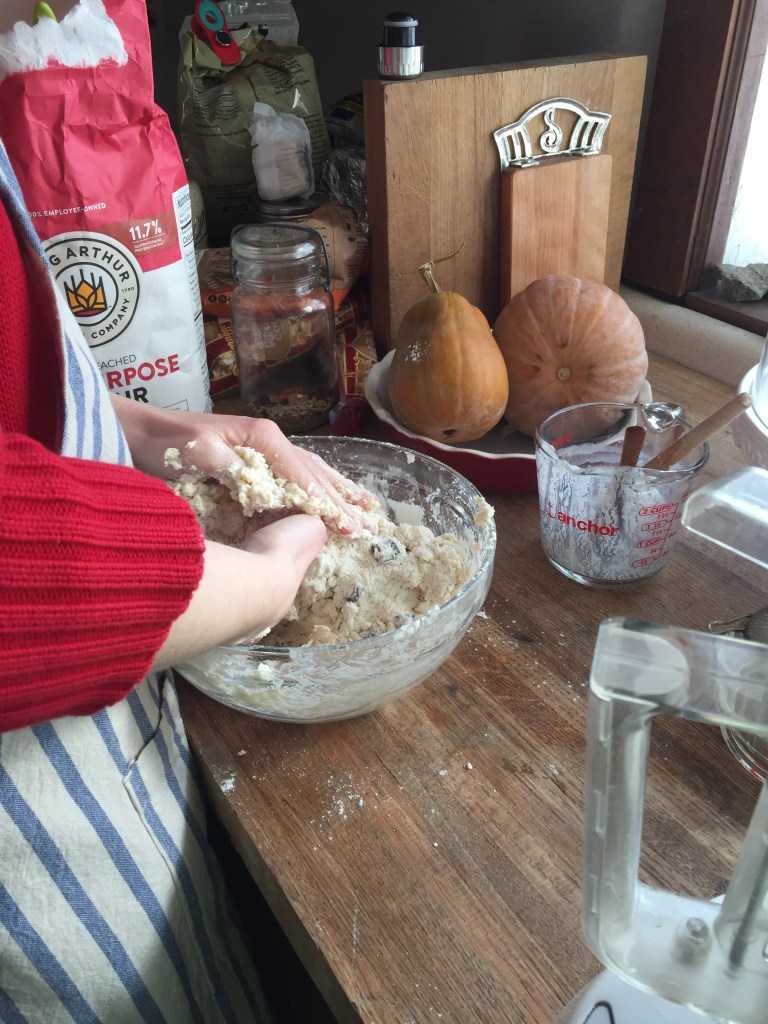
Gently pat down dough in the bowl (into a loaf shape, roughly) and dust lightly with flour.
With a large spoon/scoop, scoop mounds of dough onto prepared sheet(s), arranging about 1 inch apart (biscones will rise/expand somewhat). (Mine expanded to touch each other a bit in the oven, especially on the round pans, but it was OK!)

Bake for 20-25 minutes, rotating pan(s) halfway through. For me, this meant baking for 11 minutes, turning pans around (not swapping shelves), and baking for another 11 minutes, checking on them with 4 minutes to go to make sure they weren’t burning. Bake until lightly golden, remove from oven, let cool – serve warm, and they are also great days after (in my opinion).
Delicious, and handy – for a week of breakfasts or teatimes. I found the keys to this recipe are: to measure carefully, including with DIYs; to let buttermilk sit at the beginning; and (as with any biscuit or scone recipe) to use *cold* butter. For me, using a food processor to combine butter with the dry mixture worked best. And make sure you do NOT over-work your ingredients! Aim to work less, not knock out air – starting with your double-sifted “cake flour” and on, as you combine ingredients and work with the dough.
Recipe adapted from The Back in the Day Bakery Cookbook, with help from Pinch of Yum and Sally’s Baking Addiction blogs.

These were good!
>
🙂
looks yummy! ________________________________
They are so good!